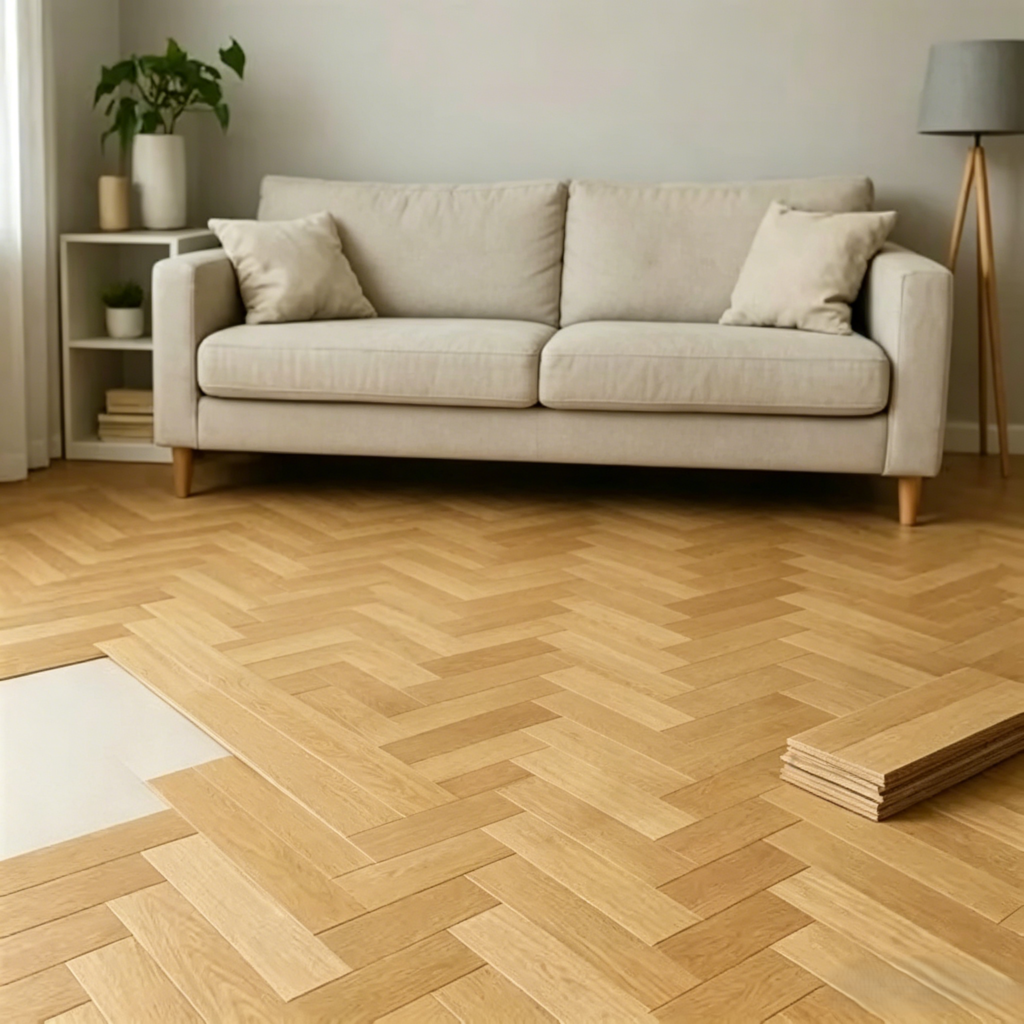
Acclimate: Before starting, unpack the planks and let them lay flat in the installation room for 48 hours. This crucial step allows the material to adjust to the room’s temperature and humidity, preventing future warping or gapping.
Prep: A flawless floor starts with the subfloor. It must be clean, dry, and perfectly level—ensure deviations are under 3mm over a 2-meter span. Use a self-leveling compound if needed; skipping this leads to squeaks and lock failure.
Underlayment: Roll out your moisture barrier or underlayment across the entire floor. Butt the edges together tightly and seal every seam with waterproof tape to prevent moisture rise.
Lock & Click: Start in a corner with the tongue facing the wall. Connect the long sides at a 20° angle, then rotate down until you hear the “click.” Use a rubber mallet and tapping block for the ends to protect the joints.
Spacers: Insert 8-10mm spacers along every wall. This expansion gap is mandatory to accommodate natural thermal movement.
Finish: Remove spacers and nail baseboards to the wall studs, never into the floating floor. This ensures the floor can expand freely beneath the trim.